Creating a Static Website with Jekyll and GitHub Pages the Easy Way
Written on September 9th, 2018 by Elizabeth Jellison
Starting something new is hard. You feel stupid and dumb, and the supposedly simplest tutorials are confusing no matter how many times you read them. That’s how I felt learning GitHub and Jekyll, and making the site you are now on.
Tutorials are often frustrating. They are either too wordy and your eyes glaze over, or they are too vague. I tend to ere on the side of too wordy, as you might be able to tell, because as a new user, the worst thing for me is only getting most of the information. How many tutorials do I have to go through to get all the information I need? It’s so time consuming, not to mention frustrating.
People who have been using the tools they write about forever forget what it’s like to be a beginner. What is obvious to them is probably not obvious to you or me, unless you already have the vocabulary and background knowledge. I didn’t, so it was a bit of a rough process for me. I am hoping, with this tutorial, I can prevent that for you.
But before I get into the tutorial, there are some concepts I want to go over that if you understand, make creating your new page a whole lot easier. They were the questions I had when I started!
What is a Static Site?
To understand what a static site is, first it helps to know what a dynamic site is.
Dynamic sites are what most people are used to when they go on the internet. When you go to a webpage, the client (your computer) makes a request to the server (the website) for content, which in turn queries its own database for that information. The content is sent back to the server which then loads it into the proper format, and sends it back to the client.
All of that happens the moment you click on a link or go visit a site. To the user the speed is usually instantaneous, assuming you have high speed internet access. In the world of the internet, its actually quite slow. And expensive.
Dynamic sites need a lot of different parts to function, like database contact, proxy servers, and load balancing, just to name a few. And the more users the site has, the more complex and expensive it becomes. Think of Facebook and all the servers it needs to host millions of people simultaneously updating their pages. That doesn’t come cheap.
So how do they keep it free and make money, you and Senator Orrin Hatch ask?

“And I like ads!” said no one ever…
But what if you are doing something much simpler, like maintaining a blog? The content is only updated when you update it, so why do you need to go through all that to get some information that is pretty much…static?
Exactly. This is where static sites come in. Instead of the content being loaded when you visit the site, on static sites the content is already there, requiring only one request from the client to the server. It’s faster and much less expensive to run.
Okay, but then what is Jekyll?
Jekyll is a static site generator created by the people at GitHub. It converts plain-text files into HTML and CSS, which is the generated static website.
These plain-text files are written in a language called Markdown. In the words of its creator, John Gruber, it is “…an easy-to-read, easy-to-write plain-text” language. Its syntax, or set of rules, is simple enough for just about anyone to learn and use, which cannot be said for dynamic sites which require knowledge of HTML, CSS, and JavaScript. For people new to coding or creating websites, that can be daunting. With Markdown that complexity is eliminated. You don’t have to use tags or learn code, making it ideal for creating quick and easy sites.
I know what you’re thinking. Without CSS, isn’t it just an ugly mess of text with no colors or graphics? Yes. That is why we use themes created for Jekyll by awesome people who know HTML and CSS like the back of their hands. Your Markdown content is wrapped in the template of the theme and then generated into HTML and CSS by Jekyll. Cool, right?
Why should I use Jekyll?
Jekyll isn’t the only static site generator, but it is owned by GitHub, and GitHub provides a unique service in that it hosts your content for free, eliminating the need for another service. That leaves you more money to spend on something else…
Like beer.

So to summarize, what make static sites an awesome alternative to dynamic sites, is that they are cheaper to run and require less space and maintenance. They need a host and a static site generator, and it takes only one server request from the client to the server to retrieve content. Other advantages are version control and the ease of writing in plain text without the need to know any code.
So if you don’t already have a GitHub account, go now and sign up for one! And
A few things before we begin…
There are two different ways you can maintain your site: locally on your desktop using GitHub desktop, or on GitHub’s website. Because it is the easiest, I will be focusing on the latter.
Additionally, I will be showing you how to make a user page. Your user page is the page you create under your GitHub account name. It is created under the master branch, and only the master branch.
The address will be http(s)://<username>.github.io, with username being replaced with your GitHub account name.
- For example, you are reading this on my GitHub User page,
kanyewesternfront.github.iowith my domain name functioning as my address.
Okay, let’s get started!
Creating a User Page the Easy Way
-
Login to your GitHub account.
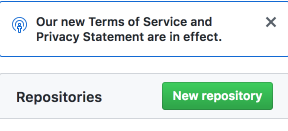
-
Click New Repository
- Name the repository using the following format:
<username>.github.io, replacingusernamewith your GitHub account name.
- NOTE: You MUST name your user page with the same name as your GitHub account or it will not work!!
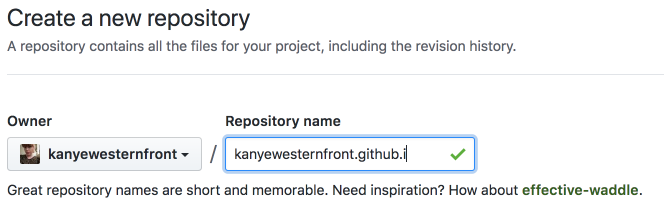
(I did not add the “o” to the end of the name for this screenshot because that repository already exists, but you need to!)
-
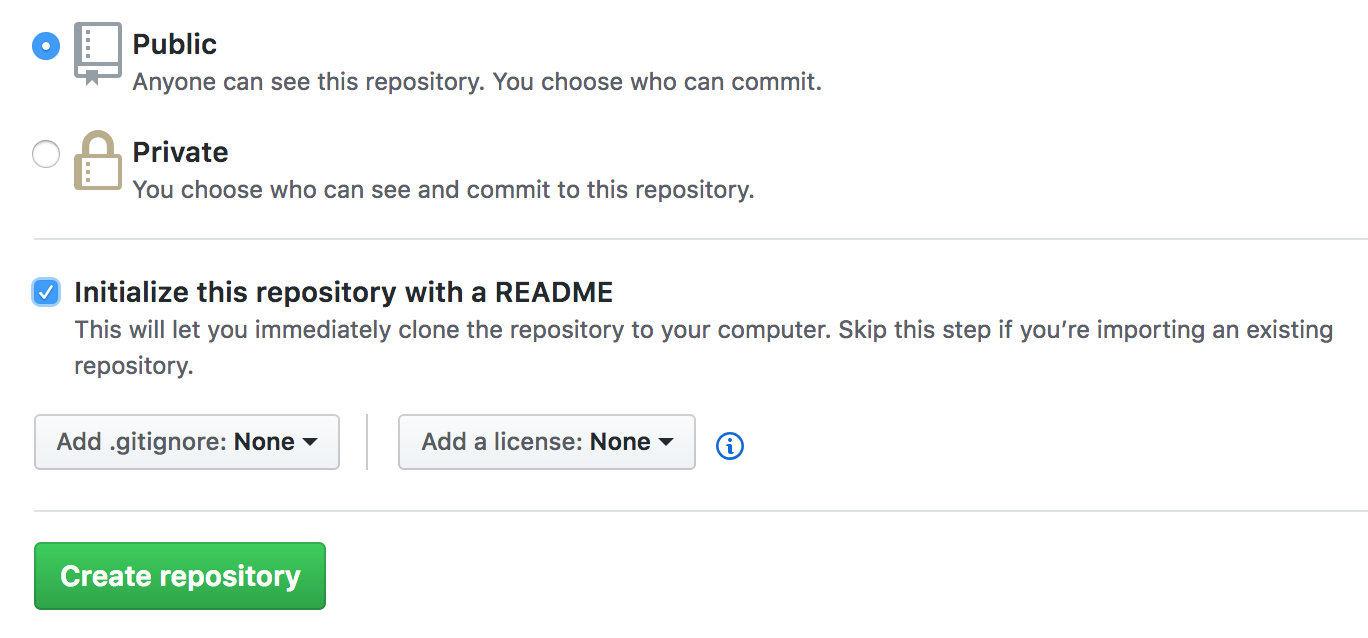
Select Public
-
Check Initialize this repository with a README…
-
Click Create Repository.
-
Click Settings and scroll down to GitHub Pages.
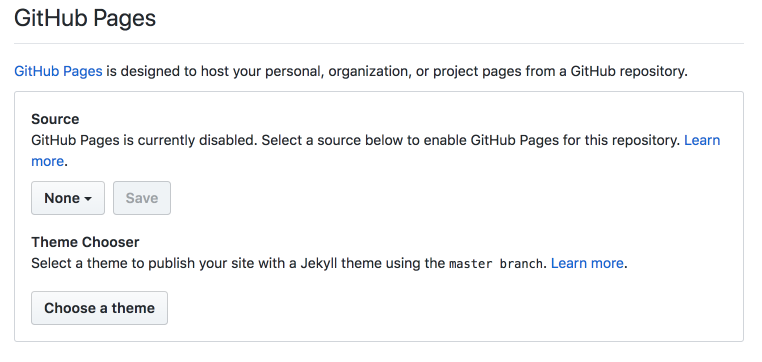
- Click on none and select the master branch.
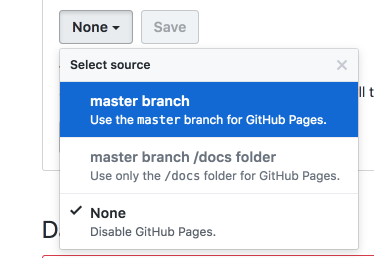
-
Click Save.
-
Click Choose a Theme and select which theme you want.

- Click Select Theme.
And voila! Your GitHub user page is ready to edit and make your own! You can visit the page by typing your address into the search bar.
This is a very simple one page site, and the README file is where you will insert and edit the content for your page. Make sure to read through the instructions contained in the README file before you edit them out. There is good information on how to use Markdown, how to edit, and how to change your theme.
Good luck!
For a more advanced way of creating a Jekyll site with themes, go on to my next post!